This post contains affiliate links. If you grab one of the printables I recommend, I may earn a small commission at no extra cost to you.
My Cricut lives on the kitchen counter from August through November and my partner has stopped asking why. By the time school starts I already have a stack of vinyl scraps and at least one shirt with a ghost pressed on slightly off-center. That ghost is my kid’s favorite shirt now. Crooked and all.
The thing about cute Halloween SVG files is that half of them look adorable in the thumbnail and then fall apart the second you cut them. Tiny floating dots, lines thinner than the blade can handle, a pumpkin face with a smile so skinny it tears when you weed it. I have learned this the slow way, peeling a wrecked design off the mat at 11pm wondering why I do this to myself.
So these are the ones that held up. A few I bought from an indie design shop, cut for shirts and a couple of laser projects, and pressed onto tees for the boys next door. Some of the links below are affiliate links, which means if you grab a file I get a tiny cut at no cost to you. Now the good stuff.
The Witch Shirt That Started Three More Shirt Requests
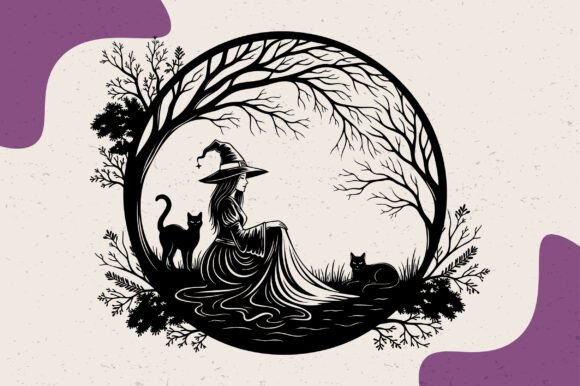
I cut this one in matte black on a mustard tee for my sister and within a week two of her coworkers wanted their own. That never happens to me. The witch silhouette is clean, no thread-thin lines to lose, which means weeding took maybe four minutes instead of the usual forty.
It presses beautifully on cotton at 305 degrees. I gave it 15 seconds, peeled warm, and the edges sat flat with zero lift. If you are layering it on a darker shirt, the design reads best with a little breathing room around the hat, so size it down a touch from the full bleed.
One nitpick. The file groups the hat brim and the figure together, so if you want the brim in a second color you have to ungroup and slice it yourself. Took me a minute to figure out where the cut line split.
A Tiny Pencil Ghost For Teacher Gift Season
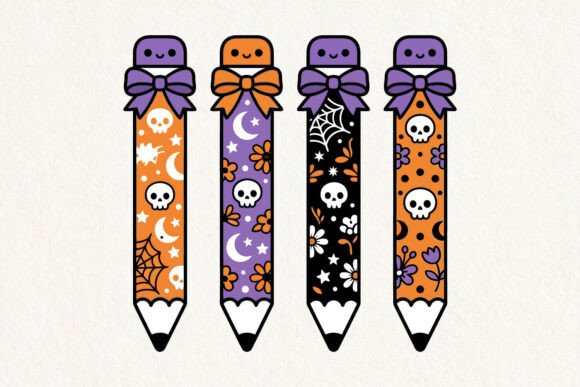
I made these for my kid’s class. Little spooky pencils, cut small in glitter vinyl, pressed onto plain canvas pouches we filled with actual pencils. The teacher cried a little. Cheap win, big payoff.
The design is small by nature, so it is fussy. Glitter vinyl is thick and the little eraser detail wanted to lift, so I bumped the pressure setting up one notch and slowed the blade. After that it cut clean. I would not try this on a worn-out mat though, the small pieces need grip.
My only gripe is the smallest faces get muddy under about two inches wide. I scaled mine to three inches and the expression came through fine. Below that it just looks like a smudge with legs.
Retro Trick Or Treat For The 70s-Orange Lovers
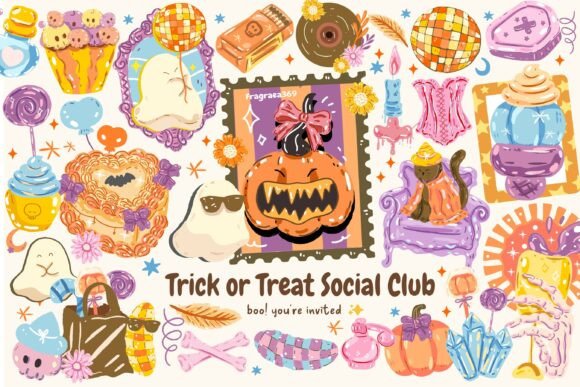
This is the one I kept for myself. That warm burnt-orange and brown retro palette is exactly my whole aesthetic, and I pressed it onto a cream long-sleeve I now wear to the grocery store in October like a maniac. Got a compliment in the cereal aisle.
The lettering is the star here and it weeds easily because the strokes are chunky. I used a three-color HTV stack: brown, orange, and a thin cream outline. Lined up the registration marks, pressed each layer for 5 seconds, then a final 15. Held up through four washes so far.
The nitpick: the bundled font outline has a couple of tight inner curves on the letter R that the standard blade rounds off slightly. Up close you notice. From across the room nobody ever will.
A Ghost Bundle I Raided For The Laser, Not Just The Cricut
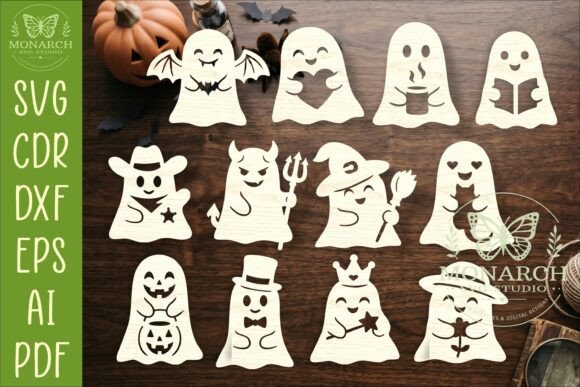
This bundle pulled double duty for me. I cut the simpler ghost shapes in vinyl for shirts, then ran two of them through my partner’s laser cutter on basswood for little hanging tags over the porch. Same files, two totally different uses, no extra money.
The shapes are solid and closed, which the laser likes. For the Cricut side, the cute round ghosts cut and weeded fast, no tiny islands floating off. I pressed a pair onto a toddler tee for the neighbor’s little one and the round shape forgives a slightly crooked placement, which I needed.
What I would change: a few of the bundle variants are nearly identical, so you are really getting maybe five distinct ghosts dressed up as ten. Still worth it for the laser-ready outlines alone.
Spooky Ghost Cliparts For When You Want A Whole Sheet
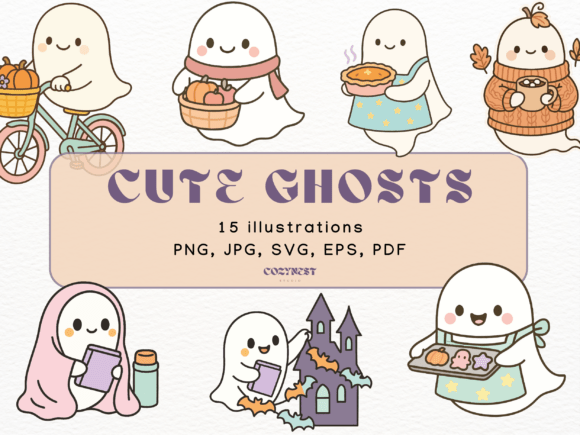
I love a clipart pack because it lets me mix and match instead of committing to one design. I cut a sheet of these in white vinyl and scattered three different ghosts across the front of a black tote bag for hauling candy on the big night. Each ghost has its own little face, which kept it from looking like a copy-paste.
They cut clean at full size. The expressions are simple enough that they survive scaling down, though I kept mine around two and a half inches to keep the eyes sharp. White on black is the move here, the contrast does all the work.
One thing to know going in: it is a PNG-heavy pack, so for crisp vinyl cuts I traced the few I wanted in Design Space and cleaned up the edges. Five extra minutes, much sharper result.
Ghost And Pumpkin Pals, Version Three Of My Favorites
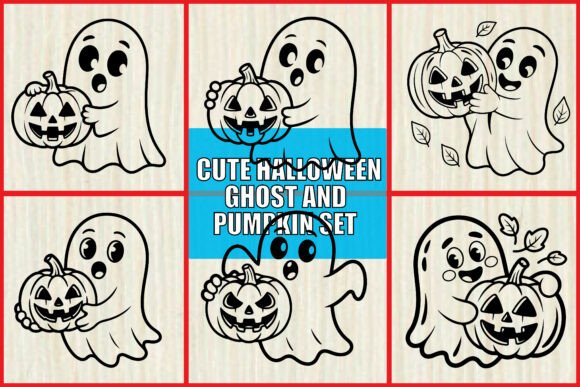
There are three of these ghost-and-pumpkin files and I genuinely could not pick one, so I bought all three and rotated them. This third one has the chunkiest shapes, which made it my go-to for the youngest kids at the front door. Thick lines, nothing to tear.
I pressed it onto a pale grey hoodie for my partner, who claims he hates Halloween shirts and then wore it every weekend in October. The pumpkin stem is a separate cut piece so I did it in a contrasting green and it gave the whole thing a little pop.
Nitpick: the ghost and pumpkin sit close together in the layout, so on a smaller shirt you may want to ungroup and nudge them apart for breathing room. Easy fix once you spot it.
The Middle Sibling Of The Ghost-Pumpkin Trio
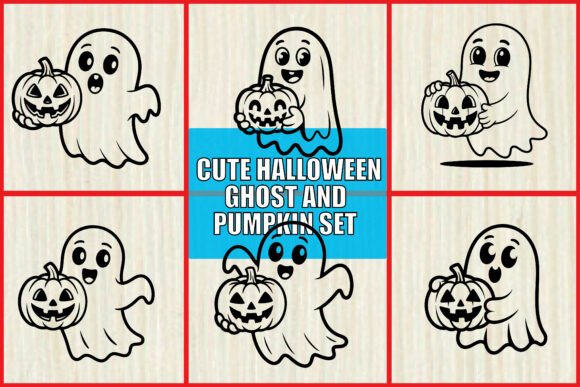
This is the second of the three, and it is the one with the friendliest little faces. Softer, rounder, less spooky and more squishy. I cut it for the kitchen window display, on clear sticker vinyl, so the morning light came through the ghost. Looked like it was floating over the sink.
For a shirt version I pressed it onto a butter-yellow tee for a party guest’s kid and it photographed great. The faces are detailed but not so fine that they fall apart, which is the sweet spot.
My one complaint is that this one and the third file are close enough in style that if you are only buying for shirts, you probably want one or the other, not both. I happen to be a completist with no self-control.
The Original Ghost-Pumpkin File I Keep Coming Back To
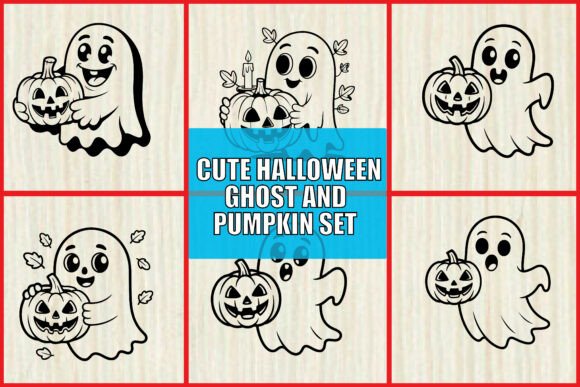
The first in the set, and the one I have cut the most times. It has the cleanest layout of the three, with the ghost and pumpkin spaced just right so I rarely have to fiddle with the grouping. That alone earns it the top spot in my files folder.
I made matching shirts for two cousins out of this one, same design, different shirt colors so they could tell themselves apart in photos. Coral for one, deep teal for the other. Pressed at 15 seconds, peeled hot, no lift on either.
The nitpick is minor: the pumpkin face cutouts are small triangles and if your blade is even slightly dull they round off. I swapped in a fresh blade halfway through and the difference was obvious. Lesson learned, again.
A Mummy Raccoon Nobody Else At The Party Had
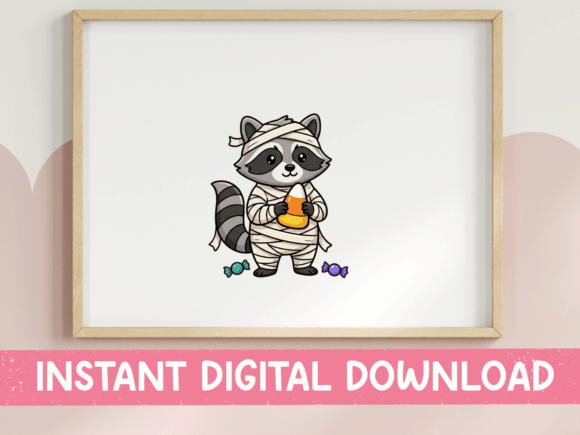
Of everything I cut this fall, this raccoon got the most laughs. A trash panda wrapped in mummy bandages is exactly the dumb-cute energy I want on a shirt, and I pressed it onto a heather-charcoal tee for my brother, who has the personality of a raccoon. He took it as a compliment.
The bandage detail is the tricky part. Lots of little overlapping strips, which means a lot of weeding. I gave myself a podcast and twenty minutes and it was fine, but do not start this one when you are tired. The thin gaps between bandages want a sharp blade.
My nitpick: a couple of the smallest bandage slivers are right at the edge of what the blade handles cleanly. I sized mine up to about six inches wide and the slivers held. Smaller than that and a few wanted to pull up.
Mason Jar Characters That Took Over My Mantel
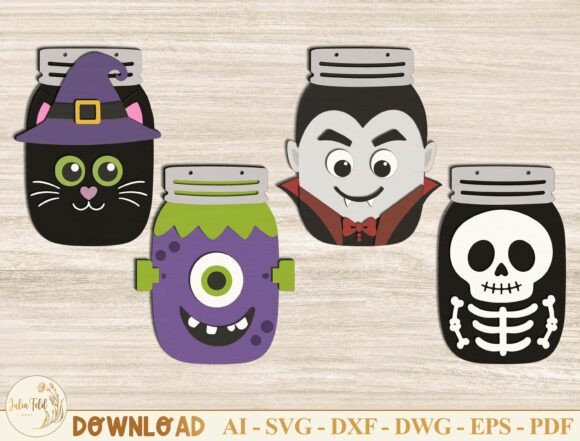
This bundle was supposed to be for shirts and instead it ate my whole mantel. I cut the jar characters out of layered cardstock and vinyl, stuck them on actual jars with battery tea lights inside, and lined them up where the candles usually go. The little Frankenstein jar is my favorite, sue me.
For the shirt side, the characters layer in three or four colors, so this is a registration-mark situation. I taped a master color onto the mat, used the alignment marks for each layer, and pressed in stages. The jar outline holds the whole design together so even my sloppy alignment looked intentional.
The nitpick: it is a laser-cutting bundle at heart, so a few files come optimized for cut lines rather than print-and-cut. For the Cricut I stuck to the simpler characters and left the most detailed jar for my partner’s laser. Split the work, kept my sanity.
Frequently Asked Questions
What vegetables go well with pumpkin?
On a craft afternoon I am usually roasting something while the Cricut runs, and pumpkin plays nice with sage-buttered squash, caramelized onions, garlic, and a pile of kale that gets crispy at the edges. A handful of toasted seeds on top and the kids actually eat it.
If you are carving real pumpkins for decor, save the guts. Roasted pumpkin and a sweet potato mash side by side make the whole house smell like October, which is the only reason I do half of this.
Why do cats do halloween cat?
Mine does the arched-back Halloween-cat pose at the vacuum, not at ghosts, so I think the spooky cat thing is mostly us projecting. Cats puff up and arch to look bigger when startled, and we slapped a holiday on it.
That said, a black cat silhouette is one of the easiest, cleanest cuts you can make, no fussy detail to weed. So I forgive the myth. It gives me an excuse to cut more cat shirts.
What are ghost cats?
Ghost cats are just the white-on-dark cat designs, or the cat-shaped ghosts you see in the cute bundles, a cat under a sheet basically. Adorable, and the round shape forgives crooked placement, which is why I cut a lot of them.
I made one for the neighbor’s kid on a navy tee, white vinyl, two dot eyes. Took ten minutes start to finish and it was the hit of the block party. Low effort, high cuteness.
How to use witches cauldron bewitchment?
If you mean the cauldron designs from the spooky bundles, I treat them like any layered cut: ungroup, sort by color, and use the registration marks so the bubbling green stuff lines up over the black pot. A glitter green for the bubbles sells it.
For a no-press version, I have cut cauldron shapes in cardstock and propped them on the kitchen window with the green bubbles as separate paper layers. Glue dots, not tape. Tape always lets go by Halloween night, ask me how I know.
Before You Print
If you only grab one file off this list, make it the witch or that original ghost-and-pumpkin, those are the two I have re-cut the most and never regretted. The mummy raccoon is the one that gets the laugh.
Cut a couple this weekend while it is still warm out and the season is ahead of you. Fresh blade, sharp mat, a shirt you do not mind testing on. I will be at the counter doing the same thing, peeling vinyl and pretending I will clean up the scraps.