This post contains affiliate links. If you grab one of the printables I recommend, I may earn a small commission at no extra cost to you.
My sister thinks I lose my mind in late September, and she is not wrong. I had bats taped to the hallway wall before her birthday candles were even cold, and her birthday is the 24th. I keep a folder on my laptop just called SPOOKY and it is bigger than my actual tax folder, which says something about my priorities.
Most of what you see in my house started as a digital file. I print the flat stuff at home on a printer that wheezes, and the cut files I run on a little machine I bought used off a crafty mom two towns over. Some years it goes smooth. Last October I jammed a sheet of black cardstock so badly my partner had to take the back panel off with a butter knife. We got it out. The cardstock did not survive.
Below are the files I keep coming back to, the ones actually living on my walls and my kitchen island right now. A handful of the links are affiliate links, so if you grab something I might earn a tiny cut. Costs you zero. Let me show you what worked.
The Wall Bundle That Filled My Whole Stairwell
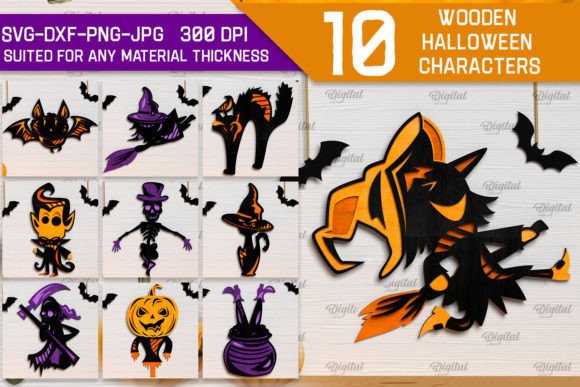
I have a long blank stairwell wall that mocked me for three Octobers. This bundle finally shut it up. It is a whole set of cut shapes, so I was not buying one bat at a time and praying they matched. I ran them on 65 lb black cardstock, which is light enough that my machine does not fight me but stiff enough that the pieces do not flop when I tape them up.
What I love is the variety in one download. I did a loose climbing-bat scatter going up the stairs, smallest at the bottom, biggest near the ceiling, and it looks like they are flying out of the dark up top. My neighbor asked where I bought it and refused to believe I cut it myself.
One honest gripe. There are a lot of pieces, and some of the skinny legs and antennae are fiddle work to weed. Put on a podcast. Pour something. Do not try to do it at 11pm like I did, because you will pull off a leg and have to reprint.
Going 3D On The Console Table By The Front Door
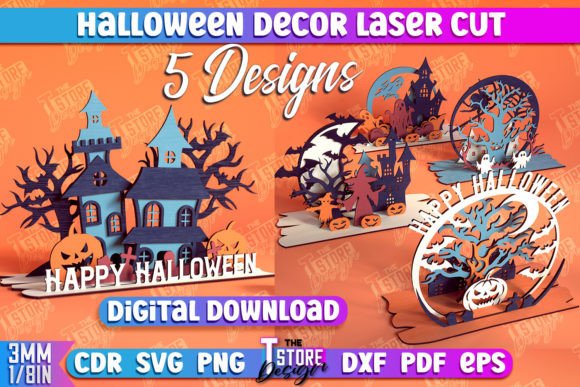
Flat wall pieces are my bread and butter, but this set stands up, and that changed my entry table completely. These are made to assemble into little dimensional pieces, so instead of a sticker-flat ghost I got something that throws an actual shadow when the lamp hits it. My partner kept moving them an inch to the left every time he walked by, which is his way of saying he likes them.
I ran mine in a thicker stock so the slots would hold without glue. Worth doing. Thin paper folds at the joints and looks sad fast. The assembly took me a quiet Sunday and a cup of tea, and honestly that was half the fun.
Nitpick: the slot tabs are sized tight, which is great for hold but means if your material is even a hair thick you will be shaving the tabs with a craft knife. I did. My fingertips were fine. Mostly.
An SVG Bundle For The People Who Cannot Stop At One Wall
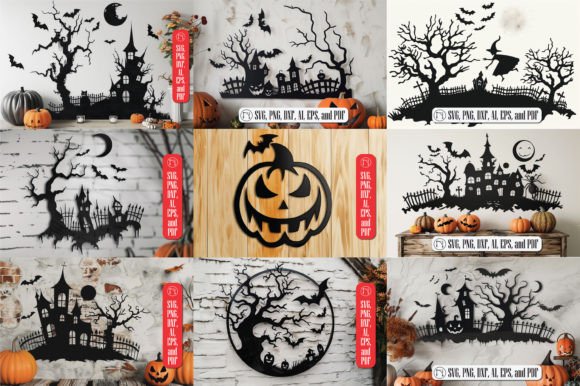
This is the file I reach for when I want a clean, graphic look instead of cozy-cute. It is a bundle of wall shapes in SVG, so it scaled up beautifully when I wanted one giant centerpiece bat over the couch instead of a dozen tiny ones. I sized it to almost two feet across, cut it from matte black, and it reads from the driveway.
I also did a smaller run for the half-bath, which is the one room I always forget until a guest disappears in there and comes out grinning. Now there is a little cluster of shapes over the towel bar. The kid who came to my sister’s get-together spent ten minutes in there counting them.
My one note: it is vector, so it is on you to pick a size that fits your wall before you cut. I eyeballed it once, cut too small, and ended up with a bat the size of a coaster floating sadly in the middle of a big wall. Measure. I am begging you.
The Lace Bat That Looks Way Fancier Than The Effort
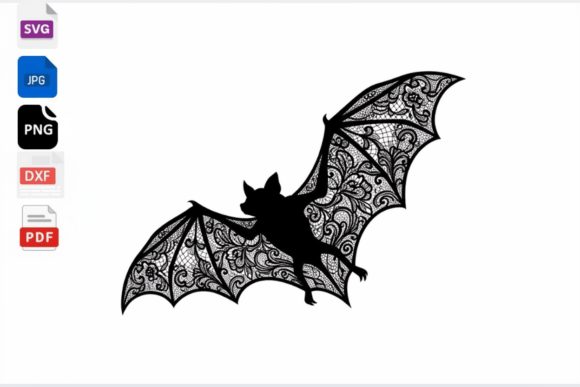
Okay this one is my secret weapon. It is a single bat, but cut with a lacy filigree pattern through the middle, so it looks like wrought iron or old paper doily instead of a flat shape. I put one in a thrifted gold frame on the mantel and people assume it is some expensive vintage thing. It cost me one sheet of cardstock and four dollars for the frame.
The trick with lace cut files is material. I tried craft paper first and the thin connecting bits tore when I weeded it. Switched to a smooth 80 lb and it cut clean. The delicate parts survive because the laser, or in my case the blade, has something to grip.
Downside, if you can call it that: it is so detailed that backing it with a contrast color really sells it. I glued mine onto deep purple and the lace pops. Plain black on a black wall and the whole point disappears.
More Wall Cuts, Because My Dining Room Demanded It
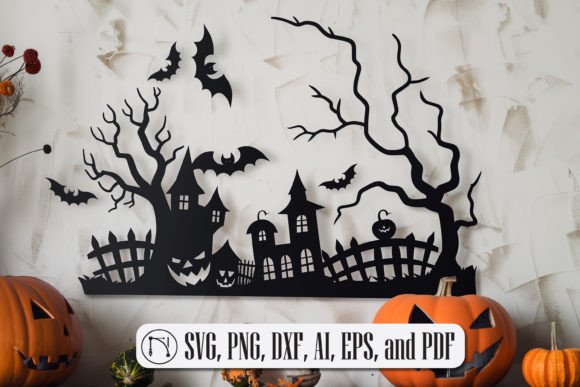
I know, another wall decor cut file. Hear me out. This one has a slightly different shape language than the first bundle, a little spookier, a little sharper, and I used it to do my dining room arch where the other set felt too soft. Mixing two sources is the move nobody tells you about. It stops everything looking like one matched store kit.
I cut these in a charcoal gray instead of true black, just for that one wall, and the difference in the candlelight is genuinely nice. Less flat. My mother-in-law, who notices everything, said the room felt warmer this year and could not figure out why.
The gripe: a couple of the shapes have long thin points that want to curl off the wall after a week. I hit the backs with a tiny bit of poster putty at the tips and they behaved. Tape alone was not enough by Halloween night.
A Grim Reaper For The Bookshelf That Scares My Cat

This is where my decor stops being cute and gets a little mean, in the best way. A scary skull and reaper piece that I stood up between the books on the living room shelf. It is the one thing in the house my partner actually flinched at, walking past it in the dark on the way to the kitchen. I consider that a five-star review.
I cut it large and backed it on chipboard so it would stand on its own without leaning. If you do the standing version, weight the base or it tips forward the second the cat investigates. Ask me how I know. The cat won the first round.
Real talk on this one: it is detailed and a bit grim, so it is not the file for a toddler-friendly party. I keep it on the high shelf during the kids’ craft afternoon and bring it down for the grown-up movie night later.
The Print I Stuck In The Kitchen Window

Not everything has to be cut. This is a PNG, so I printed it flat, no machine, no weeding, just my poor wheezing home printer and a sheet of presentation paper. It is a moody guiding-souls image, and I taped it inside my kitchen window facing the street so it glows when the under-cabinet light is on behind it.
The backlit trick is the whole magic here. Flat on a wall it is nice. With light coming through from behind it is genuinely a little haunting, in a good way. I had a party guest stop mid-sentence and ask if it moved. It does not. The flickering was just my candle.
Nitpick: it is a raster file, so do not blow it up to poster size or it goes soft and pixelated. I kept mine at letter size and it is crisp. Print a test on cheap paper first to check your colors, because my printer always runs a touch orange and I had to nudge it.
Tiny Tiered Tray Pieces For The Kitchen Island
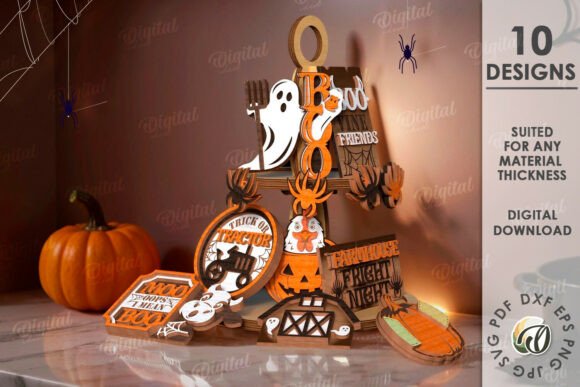
My kitchen island is the heart of the house, which means it earns its own little display. This bundle is a set of tiny tiered-tray decorations, farmhouse-flavored, and they are exactly the small scale you want for a tray or a cake stand. I cut a stack of mini signs and shapes and arranged them on a two-tier tray with a couple of fake mini pumpkins from the dollar bin.
Small pieces are forgiving, which is why I started my kid on these. She cut the easy shapes, I did the fiddly ones, and the island looked styled by dinner. The scale means a single sheet of cardstock makes a whole tray’s worth, so it is the cheapest impact in this whole list.
One thing: because the pieces are little, prop them up. Flat on the tray they get lost. I taped a few onto bamboo skewers stuck in a tiny pot so they stand at different heights, and that one tweak made the whole thing look intentional instead of scattered.
Faux Stained Glass For The Window Above The Sink
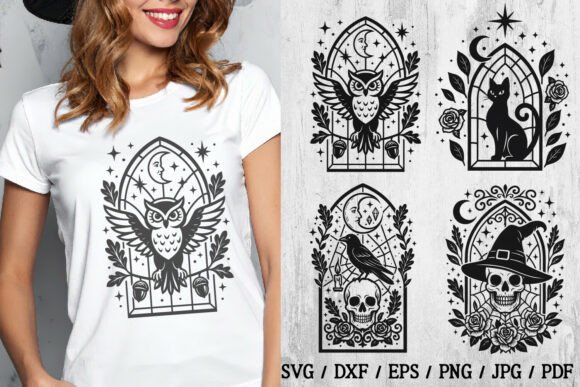
This file made me feel like a genius for about a week. It is a gothic stained-glass design, and the way you fake the glass is the fun part. I cut the black frame pattern from cardstock, then backed the open sections with sheets of colored cellophane and tissue. Stuck it in the window above the sink. With morning light coming through, the counter goes all jewel-toned and church-spooky.
It is a little more involved than a single cut, I will be honest. You are gluing colored bits behind the black lattice, and it is sticky finger work. But it is the kind of project I actually want to spend a rainy Saturday on, with tea and a movie playing in the background.
The nitpick: pick your colors before you start gluing. I went too red on my first try and the kitchen looked like a crime scene at sunset. Swapped in amber and deep green and it settled into something properly eerie instead. Much better. The sink has never looked so haunted.
The Oil Lantern That Anchored My Whole Mantel
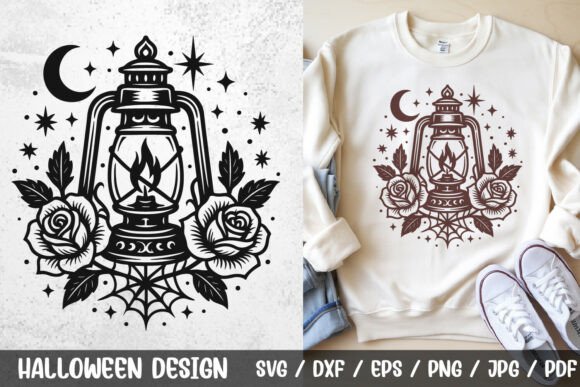
Every display needs one bigger hero piece, and this gothic oil lantern is mine this year. I cut it tall and stood it dead center on the mantel, and everything else, the bats and the lace, arranged itself around it. A focal point does that. It tells the eye where to land.
I ran it on heavy 110 lb stock so it would stand proud without sagging at the top, which a taller piece always wants to do. Then I tucked a little battery tealight just behind the cutout where the flame would be, and at night it does this soft glow through the lantern shape that I cannot stop looking at.
My one complaint is height. It is tall, so check your mantel clearance before you cut at full size. Mine grazed the bottom of the mirror and I had to trim a half inch off the base. Lined it up crooked the first time too. Fixed it. Lit the tealight. Stood back. Did not move it again until November.
Frequently Asked Questions
Can anyone stay at soho farmhouse?
Soho Farmhouse is a members’ club, so staying there generally runs through Soho House membership or a member booking on your behalf, not an open public reservation like a regular hotel.
I bring it up because that farmhouse-cozy look gets searched a lot around Halloween, and you can chase the same warm, rustic feel at home with tiered-tray pieces and natural tones instead of a membership. Cheaper. Spookier. Mine.
Can anyone go to soho farmhouse?
Access to Soho Farmhouse is tied to membership and member bookings rather than walk-in public access, so it is not somewhere anyone can simply turn up and visit.
The good news for the rest of us is that the styled-farmhouse autumn vibe is easy to print and cut at home. A few small decor cuts on a wooden tray gets you most of the way there for the cost of one sheet of cardstock.
Should you decorate above kitchen cabinets?
I say yes, if there is a gap up there. That dead space above the cabinets is prime real estate for a little seasonal scene, and a few standing cut pieces or a small backlit print fills it without crowding your counters.
Keep it loose. I cluster three or four pieces at different heights instead of lining them up in a row, and I leave breathing room so it reads as a deliberate vignette and not clutter you forgot to dust.
Do you decorate above kitchen cabinets?
I do, every single October. It is the one spot guests do not expect to look, so a bat cluster or a tiny gothic silhouette up there gets a delighted little double-take when someone finally notices it.
My only rule is scale up slightly. Pieces that look fine at eye level can disappear when they are six feet up, so I cut my above-cabinet shapes a size bigger than I think I need. Learned that the hard way with a row of bats nobody saw all season.
Before You Print
None of this is the expensive stuff. It is a printer that wheezes, a used cutting machine, a stack of cardstock, and frames I already had in the closet. The lace bat in the gold frame still gets the most questions, and it set me back four dollars and one quiet evening on the kitchen floor.
Start with one file. Cut it on a Sunday with something warm to drink. Tape it up, stand back, fix the crooked one, and light the little tealight behind the lantern. That part never gets old for me.