This post contains affiliate links. If you grab one of the printables I recommend, I may earn a small commission at no extra cost to you.
My candy bowl lives on a wobbly side table by the front door, and for years it just sat there, naked, a plastic cauldron full of fun-size chocolate and nothing to explain itself. Then one October I taped a printed sign behind it. Suddenly the whole corner looked like I planned it. I did not. I printed that sign at 9pm on a Tuesday because my niece was coming over and I panicked.
That is the funny part about candy bowl signs. They are tiny. A half sheet, maybe a quarter. But they carry the joke, the rules, the little wink to whoever is reaching in. Take one. Take three if no one is looking. My sister still quotes the one I made two falls ago.
A few of these I have actually printed and propped up myself. They come as digital files from an indie design shop, so you download, print, prop, done. Some of the links below are affiliate links, which means if you grab a file I might get a tiny cut. Costs you nothing. Let’s get into the good ones.
The Twenty-Five Sign Bundle I Raided for the Whole House
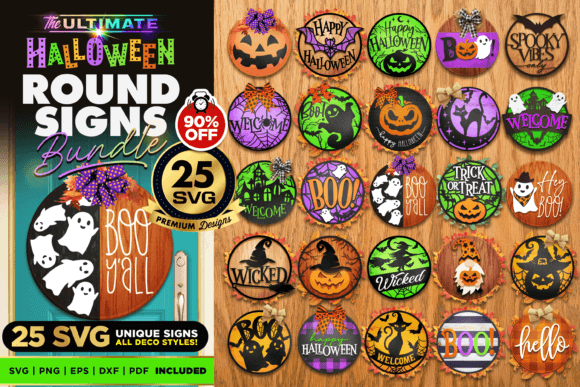
I bought this one thinking I’d use maybe two of the door signs. I used eleven. There is a real economy to a bundle like this, twenty-five files in one download, so the candy bowl sign was basically free once I’d already justified the porch and the bathroom mirror with the rest.
The one I clipped behind the bowl was a simple ‘Help Yourself, If You Dare’ layout. I ran it on 110 lb white cardstock so it would stand on its own in a little acrylic frame without flopping. My partner said it looked store-bought, which from him is a parade.
One gripe. A couple of the SVG files in the pack are sized for cutting machines, not printing, so they came out smaller than I wanted on a regular sheet. I had to scale a few up by hand in the print dialog and eyeball it. Worth a second of squinting.
A Crooked Little Town That Sits Right By the Treats
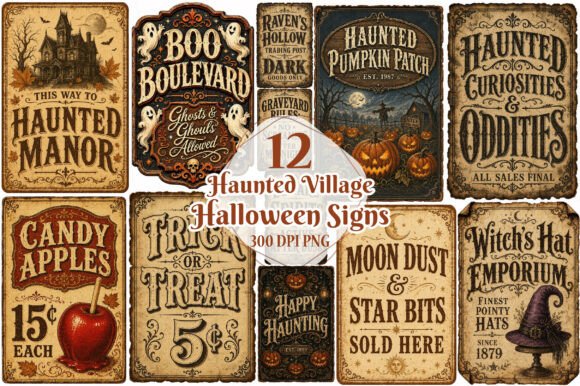
This set has that storybook spooky-village look, little leaning houses and a moon, and it reads beautifully next to a bowl of candy because it feels like the whole town came out for the night. I propped one against a mason jar of mini chocolate bars on the kitchen window ledge.
The art is detailed enough that I went straight to matte photo paper instead of cardstock. Cardstock would have flattened all those tiny windows. On the matte it glowed under the under-cabinet light and my neighbor asked where I’d bought it. Online, I said, and left it mysterious.
Downside, the detail eats ink. My poor printer wheezed through the dark sky and I burned more black cartridge than I’d like to admit on one little sign. If your printer hoards ink like mine, do this one early, before the costume printing rush.
Loose Brushstroke Lettering That Forgives a Crooked Tape Job
I am bad at hanging things level. This sign saved me from myself. The lettering is hand-painted-looking, all loose brushstrokes, so when I taped it slightly tilted above the candy bucket nobody could tell it wasn’t on purpose. Wonky becomes a design choice.
The colors lean warm, that classic candy orange, so I leaned all the way in and printed it on cream cardstock instead of bright white. Softer. Felt more like a bakery than a haunted house, which suited the treat corner on my kitchen counter where the kids actually grab from.
One note, the brushstroke style has a few thin gaps in the letters by design, and on cheap copy paper the back light shows through and it looks accidental. Heavier paper fixes it. I learned that the messy way with my first test print.
The Sign That Tells the Grown-Ups Where the Real Bar Is
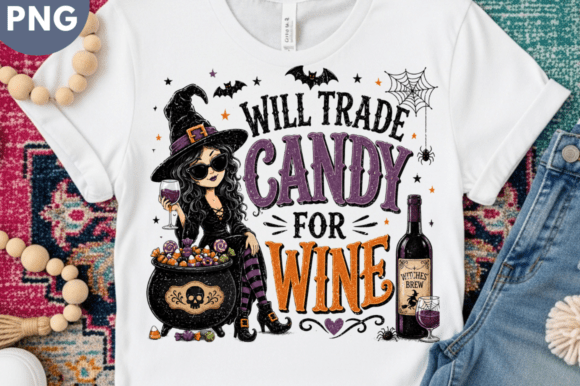
Not every candy bowl sign is for the kids. This one is a wink at the parents doing the rounds, and I put it on the little drinks cart in the dining room next to a bowl of the good chocolate I was clearly not sharing with trick-or-treaters. My friends laughed. One of them photographed it for her group chat.
It’s mostly text on a clean background, so it printed fast and cheap, no ink-hungry illustration. I framed it in a 5×7 from the back of a closet and called it done in about four minutes flat.
The nitpick here is sizing. The file came formatted wide, and my frame was tall, so I had to flip to landscape and add a border so it wouldn’t crop the joke. Read the proportions before you print or you’ll lose half the punchline.
Laser-Cut Files I Cheated and Just Printed Instead
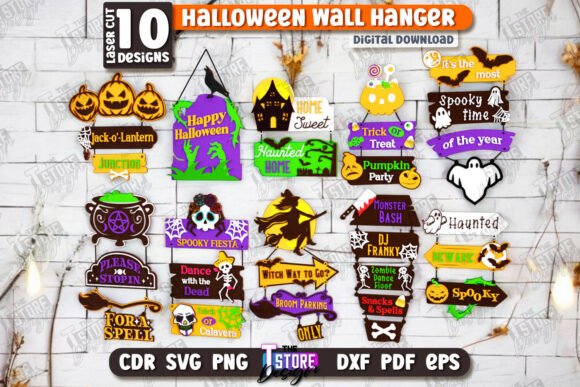
Full confession, these are made for a laser cutter and I do not own a laser cutter. I own a tired inkjet and a glue stick. So I treated the wall sign designs as flat prints, ran one on heavy stock, and glued it to a scrap of foam board I had left from a school project. Faked the dimension. Looked great leaning behind the candy bowl on the entry bench.
The shapes are clean and bold, which is exactly what you want for a sign people read from a few feet away while reaching for a Snickers. No squinting.
Obvious catch, if you actually have the cutter, ignore my hack and use them as intended, they’ll look ten times better. If you don’t, just know you’re scaling down some ambition. Still came out cute on foam board. My partner couldn’t tell until he picked it up.
A Color-It-Yourself Sign That Bought Me Forty Quiet Minutes
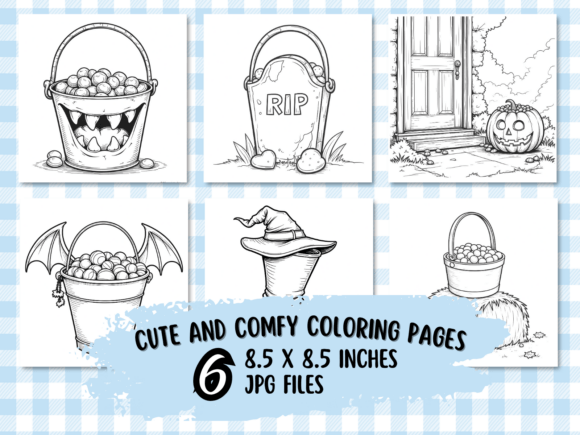
This one isn’t really a sign until a kid makes it one. It’s a candy bucket coloring page, and I handed it to my nephew at the kids’ craft table the afternoon before our movie night with a fistful of orange and purple markers. He colored a candy bucket so violently purple it glowed.
Then we taped his masterpiece behind the actual candy bowl and he guarded it like a museum docent all evening. That’s the trick with the coloring files, they turn a print into a project, and the project turns into decor the kid is weirdly proud of.
Practical bit, print these on plain copy paper, not cardstock. Markers bleed less and crayons glide better on thinner paper, and honestly you want it cheap because they’ll go through several. We did four before he was happy.
Bright Candy Art That Doubles as a Bowl Topper
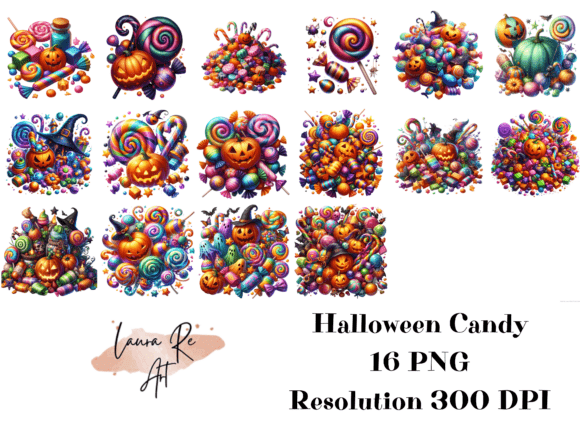
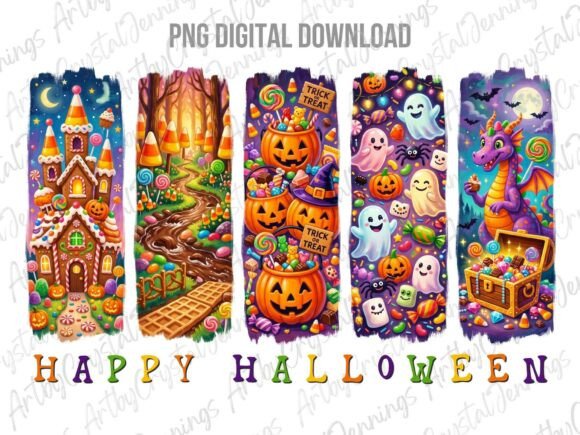
This is a cheerful candy graphic, all wrapped sweets and bright color, and it’s less about words and more about mood. I cut one out, mounted it on a paper-towel-roll stand I rigged with tape, and stood it right inside the bowl peeking up over the candy like a little flag.
The colors are loud in the best way, so it reads from across the room. On my deep purple tablecloth it popped. I almost went orange and I’m glad I didn’t, the purple let the candy art do the shouting.
My one quibble, the file is a single dense illustration, so if your printer is low on cyan like mine was that night, the blues in the candy wrappers go a little grey. Check your levels first. I didn’t, and one wrapper looked vaguely sad.
An Older Bundle That Still Pulls Its Weight by the Bowl
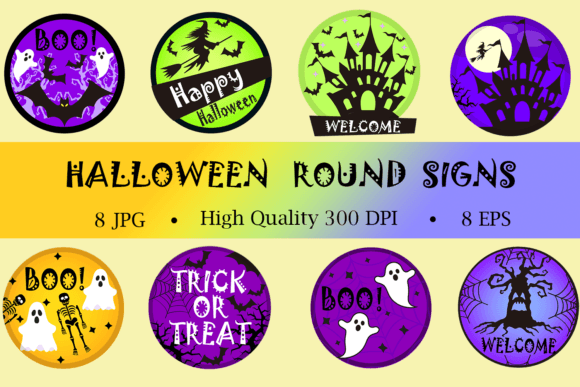
This bundle has been around a while and it shows, in a good way, the designs are simpler and bolder than the newer overworked stuff. I pulled a ‘Trick or Treat’ sign from it and stood it next to the candy bowl on the porch rail, and the plain strong lettering held up even in the dim porch light when the fussier signs would have turned to mush.
I printed mine on bright white 110 lb and slid it into a cheap black frame to keep the porch damp off it. Survived two nights of October air without curling.
The downside of an older set is the file formats are a bit dated and one print came out with weird margins I had to crop. Two minutes of fiddling. For a bundle this cheap I’ll crop margins all night.
A Pop-Up Treat Bowl That Stands Up On Its Own
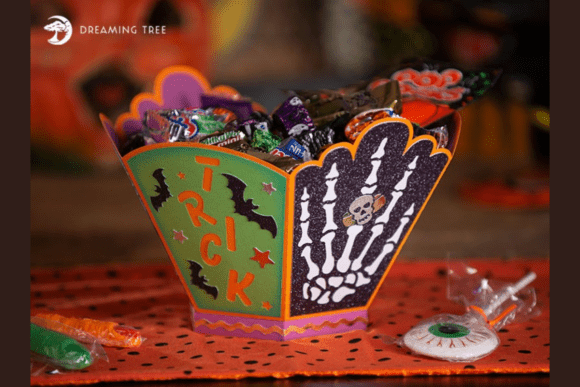
This is a 3D-style file, a little treat bowl you assemble, and I’ll be honest, I built it more for the satisfaction than the function. Scored the folds with the back of a butter knife, folded, tabbed it together, and stood it next to the real candy bowl like a tiny mascot. My sister called it the bowl’s emotional support bowl.
If you have a cutting machine this is a breeze. By hand it’s fiddly but doable on a slow Sunday with coffee. I did mine in dusty orange cardstock and it held its shape all night on the entry table.
The catch is paper weight. Too thin and it slumps, too thick and the folds crack white at the creases. The 65 lb I tried first sagged by hour two. Medium-heavy cardstock is the sweet spot. Took me one floppy failure to find it.
A Pumpkin Basket Print That Anchors the Whole Corner
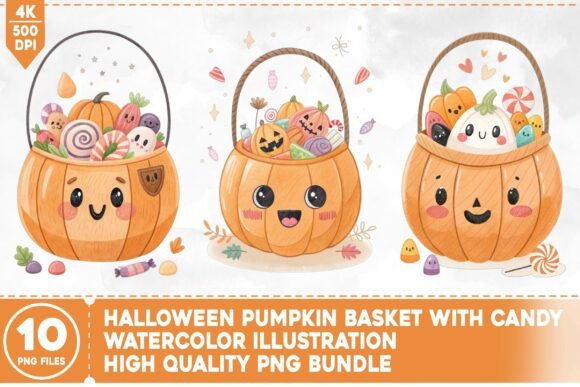
I ended on this because it’s the one I’d hand a first-timer. A friendly pumpkin basket full of candy, warm and uncomplicated, the kind of image that just makes a candy corner look finished without any cleverness required. I taped it to the front of my plain plastic bowl and suddenly the bowl had a personality.
It printed clean on matte paper and the orange came out true, no muddy pumpkin, which is not a given with my printer’s moods. I cut it to fit the curve of the bowl and double-taped the edges so reaching hands wouldn’t peel it.
My only nitpick, the file’s a JPEG, so there’s a faint border edge if you don’t trim tight to the pumpkin. I went around it with scissors instead of the paper cutter to follow the curve. Five extra minutes, much cleaner result.
Frequently Asked Questions
Is halloween banner good battle cats?
Different kind of banner, friend. The Halloween Banner in that game is its own thing, and I’m the wrong witch to ask about gacha rates. What I can tell you is the paper banners I string above my candy bowl are very good for one job, making the corner look intentional for about three dollars of cardstock.
If you came here for the printable kind, you’re in the right spot. If you came for the game, I hope it pulls well for you.
Do halloween decorations go on sale?
The physical stuff goes on deep clearance the day after, sometimes seventy or eighty percent off, which is when I stock up on frames and tape for next year. The trap is everything good is gone by then.
Printable files are a different animal. The indie shops run their own sales, and I’ve grabbed bundles for a few dollars during their fall promos. I keep a little wishlist going through September and pounce when one dips.
Can halloween decorations get wet?
Paper signs and rain are not friends. I learned this when a porch sign turned to soggy oatmeal during an October drizzle. If your candy bowl lives outside, slip the print into a cheap acrylic frame or run it through a laminator first.
Lamination is the real fix. I laminate anything that goes past the threshold. Inside on the kitchen counter, no frame needed, just keep it away from the cider.
Is halloween banner worth it battle cats?
Still not my arena, and I’d be faking it if I gave you a number. My honest answer is the same as before, I decorate with paper, not pixels.
For the paper kind, worth it is easy. A printable candy bowl sign costs less than a coffee and gets used every single October. That math I can defend.
Before You Print
The candy bowl is the one spot every single trick-or-treater touches, so it’s the cheapest place to make people smile. A printed sign, a bit of tape, heavy paper if you can swing it. That’s the entire investment.
Grab the one that made you laugh, print it tonight, prop it crooked behind the bowl. Mine’s already up and it’s only the second week of September. My partner counted.