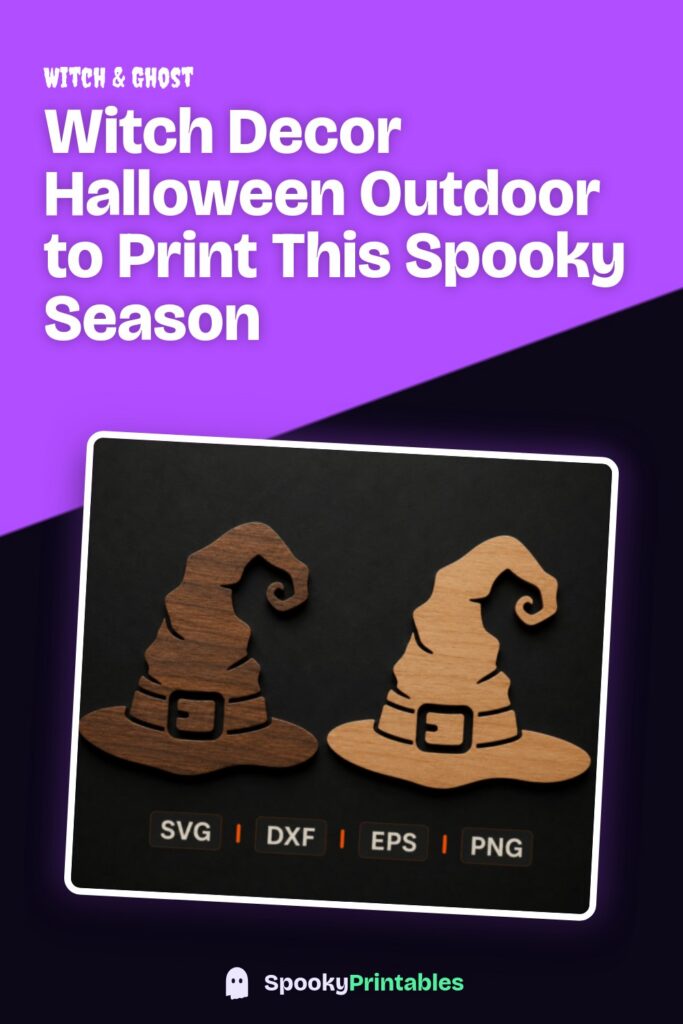
This post contains affiliate links. If you grab one of the printables I recommend, I may earn a small commission at no extra cost to you.
My porch became a witch problem around the third week of September. It started with one hat in the front window and then there was a sign on the door, then a little wooden cauldron thing my partner found me hunched over with a craft knife at 11pm. He asked if we were having people over. We were not. I just wanted the porch to look like something lived there and that something owned a broom.
Most of what you are about to scroll through is paper and cut files. I print at home on a printer that wheezes, and the cut files go to a tiny laser my sister lets me borrow if I feed her cat that weekend. None of it is fancy. A door corner here, a clipart witch there, a sign that took me two tries because the first one was sized wrong and I did not check.
A few of these are files I genuinely used last fall, from an indie design shop I keep going back to. Some links below are affiliate links, so if you grab one I get a tiny cut and it costs you the same nothing. Okay. Brooms up.
A Witch Hat for the Porch Rail (Cut, Not Printed)
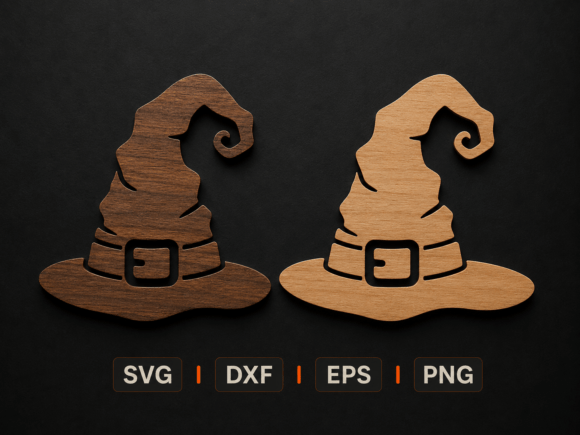
This one is the cut file I hand to my sister’s laser when she is feeling generous. A flat witch hat shape, the kind you stand up against a porch post or wire onto the rail so it catches the streetlight. I did mine in 1/8 inch birch ply and stained it almost black, and it looked like it had been out in the rain for a decade, which is exactly what I wanted.
If you do not have a laser, this is not your file, and that is fine. But if you do, it cuts fast and the points of the hat are crisp. My one gripe: the brim has a couple of thin spots near the curl that snapped on my first try because I rushed the masking tape backing. Slow down on the weeding. Second hat came out perfect and it is still on my rail.
The Little Witch That Sits in Your Door Corner
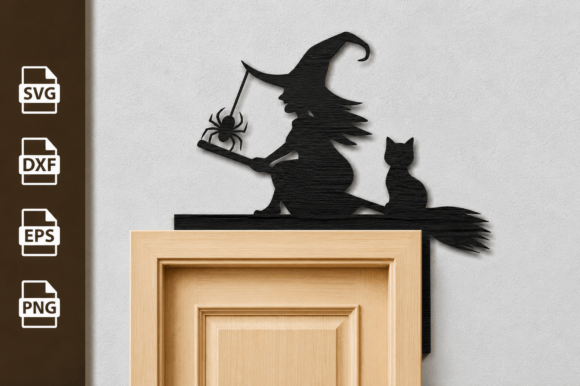
A door corner is one of those tricks I did not know I needed until I had one. It tucks into the top corner of a door frame, a witch silhouette leaning in like she is peeking around the wood. This is the cut version. Mine went on the inside of the front door so guests got the surprise on their way out.
I ran it in dark walnut ply and the silhouette read cleanly even from across the entry. The fit depends entirely on your door corner being a real 90 degrees, and mine, in a house from 1962, is not. I shimmed it with a folded sticky note behind one edge and nobody noticed. Cheap fix. Held all season.
A Salem Sign That Lies About How Long It Took
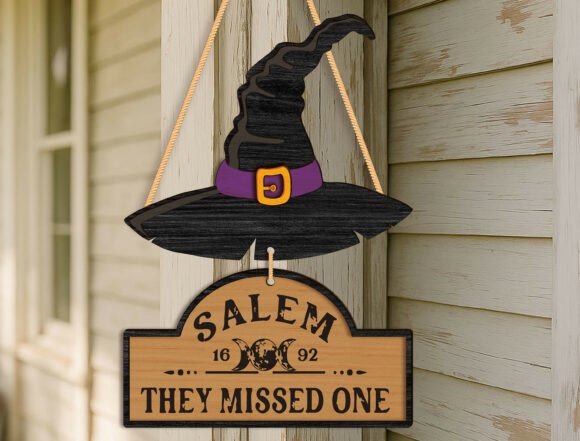
This is the front door piece that gets the comments. A witch hat with Salem lettering, sized as a door sign, cut so the words show through against whatever is behind. I backed mine with a square of orange felt so the letters popped, and hung it on the door with a loop of jute instead of a wreath this year.
The SVG itself is clean and the letter bridges are already there, which saved me, because I am bad at adding them myself and usually lose the inside of an A. One honest note: the file is one piece, so if you want the felt backing like I did you are cutting that separately by hand. Took me a coffee and a podcast. Worth it on the door.
The Hat-Shaped Corner Piece I Put on the Pantry
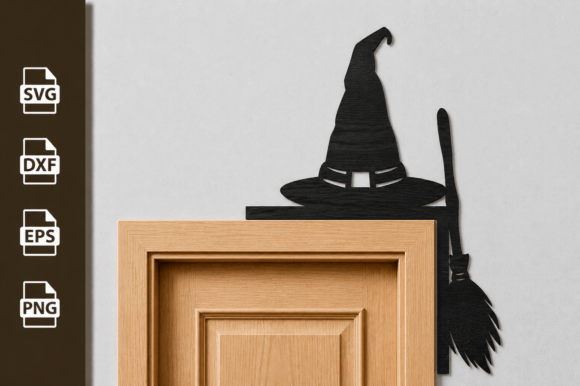
Same door-corner idea but the shape is a pointed witch hat instead of a full figure, and this one is the SVG. I did not put it on a door at all. It went in the top corner of my pantry doorway because that little arch of empty wall annoyed me every October, and a leaning hat fixed it in about four minutes of cutting.
It scales down nicely, which a lot of corner files do not. I shrank mine to fit a narrow interior frame and the point still held its shape. The only thing I would warn about is the buckle detail on the hat band is tiny at small sizes, so if you scale way down it can lose definition. At full size it is sharp. At pantry size it is a smudge that reads as a buckle if you squint, and honestly that was good enough.
A Second Door Corner, Because One Door Is Never Enough
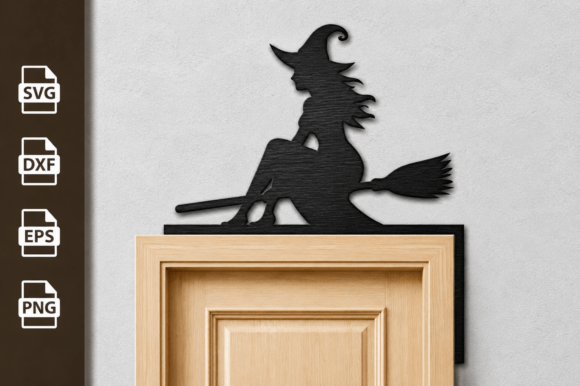
Yes, another door corner, and no, I am not sorry. This is a different witch corner cut file, and I bought it specifically for the back door, which opens onto the deck where we do the spooky movie nights. Different witch, slightly chunkier silhouette, reads better from a distance than the dainty one.
I cut this in a thicker 1/4 inch stock so it had some heft, and it sits flush in the corner without any shimming, which after the 1962-door saga felt like a small miracle. The fine line near her broom did char a touch on my laser because I had the speed wrong on the first pass. Bumped the speed up, ran a clean one, sanded the test piece into a coaster. Nothing wasted.
The 3D Witch My Kid Now Calls Hers
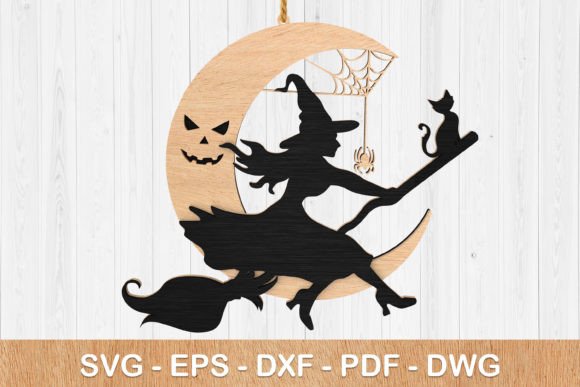
This is the one that turned into a project. A 3D layered witch SVG, meaning you cut several layers and stack them so she stands up and has actual depth. My kid sat at the kitchen table gluing layers with me and somewhere around layer four she declared the witch was named Bernadette and belonged to her. So Bernadette lives on the kitchen windowsill now and I am not allowed to move her.
The layers are labeled in the file, which I appreciated because stacking these blind is a nightmare. Allow yourself drying time between layers or the glue squeezes out the sides like ours did on the apron. We fixed it with a thin coat of black paint over the smudge. You cannot tell unless you are Bernadette’s mother, which I apparently now am.
Two Dome Holders for the Witchy Apothecary Look
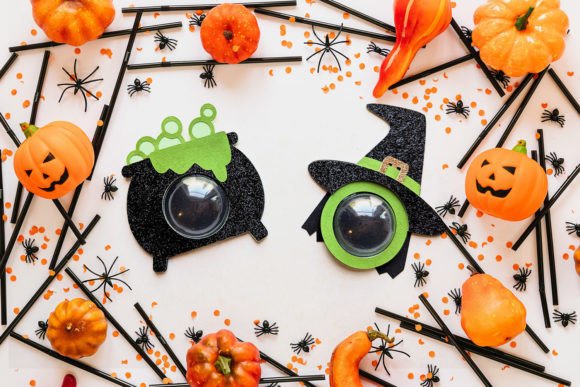
I have a thing for the cloche-under-glass look, the little dome with something odd trapped inside it. This is a duo of dome holder cut files, two designs, witch themed, made to hold a glass dome or just stand as a base with a candle. I put one on the kitchen counter holding a fake potion bottle and one by the front window with a battery candle.
Getting two designs in one file felt like a deal, and they both cut without drama. The base on the larger one is a bit narrow for a heavy glass dome, so mine wanted to tip until I weighted it with a washer hot-glued underneath. Five minute fix that nobody sees. Once it is steady it looks like something I would have paid way too much for at a fall market.
The Goofy Camping Witch for the Movie-Night Table
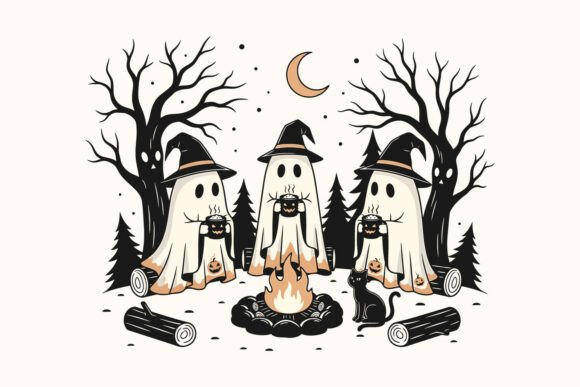
Not everything has to be moody and Salem-serious. This witch and ghost camping SVG is just plain fun, a witch and a little ghost having what looks like the world’s spookiest camping trip. I cut it as a flat sign and propped it on the snack table for our deck movie night, right next to the popcorn.
It also works as an iron-on, which is where I am taking it next, because my kid wants it on a tote for trick-or-treating. The detail in the tiny ghost is the charm and also the risk, since small cuts in vinyl love to peel. I went slow on the weeding and it held. As a paper print it is great too, less fiddly, and you can tape it to a window in about ten seconds flat.
Whimsical Witch Clipart for Everything That Needs a Witch
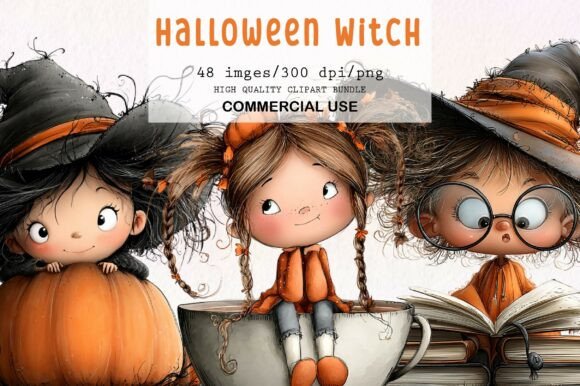
Clipart is my secret weapon for the stuff that is not a big statement piece. This whimsical witch set is the kind of thing I print onto cardstock and cut out for tags, for the kids’ party favors, for sticking on the front of a treat bag. Soft, friendly witches, not scary ones, which my niece appreciates because she is four and committee on what counts as too spooky.
I ran these on 65 lb cardstock and the colors came out a little flat, so I bumped the saturation in the print dialog and the second batch sang. Heavier 110 lb would hold up better if you are making favor tags that get handled, but I was out of it, naturally, right when I needed it. Story of every October in this house.
The Witch Girls Set That Took Over the Kids’ Table
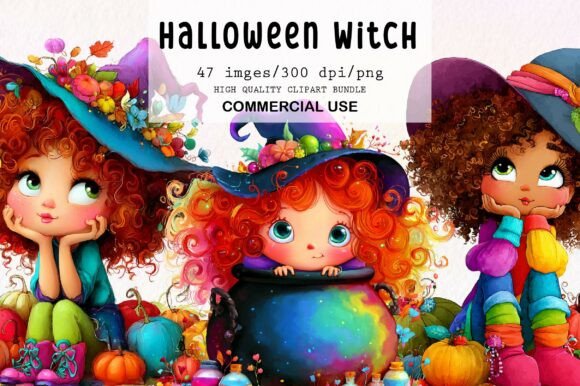
This is the companion energy to the last one, a set of whimsical witch girls, and this is the file that saved our messy craft afternoon. I printed a sheet of these, handed scissors and glue sticks to four kids, and let them build their own little witch scenes on folded cardstock. Twenty minutes of glorious silence.
The characters are cute and varied enough that the kids did not fight over the same one, which is the real metric for kid clipart. My only nitpick is a couple of the figures have thin little broom handles that the kids tore right off, so if your crew is small, print a few spares. I learned that the messy way, with one very sad five year old and a roll of tape.
Frequently Asked Questions
Why is my printer printing ghost images?
I fought this exact thing on a witch banner two falls ago. Faint repeated images usually mean a low or drying ink cartridge, or a fuser issue on a laser printer that has been overworked. If you are printing a big batch of decor back to back, give the printer a breather between sheets.
Nine times out of ten for me it was the cartridge. I run a cleaning cycle, and if the ghosting is still there I swap the cartridge and the next print comes out clean. On heavy cardstock the problem shows up faster, so do not blame the file first.
Does ghost affect ghost?
If you mean ghost printing stacking up on itself, then yes, a faint ghost image can pile onto the next pass and make the whole print look muddy. I noticed it most on dark witch silhouettes where the black just smeared into a gray haze.
The fix is the same: clean the heads or swap the cartridge before you commit to printing twelve copies of your door sign. I learned to test one sheet first and really look at it under good light instead of trusting the first glance.
What is ghost printing?
Ghost printing is when a faint, unwanted copy of your image shows up somewhere it should not, usually repeated a little further down the page. On my home printer it looks like a witch hat is haunting its own print, a pale echo of the real one.
It comes down to the printer hardware, not your design file. Drying ink, a tired fuser, or paper that is too heavy for the machine. Once I matched my cardstock weight to what my printer could actually handle, most of it went away.
Does every ghost house have a secret exit?
Ha, not in real life, but in decor lore it is half the fun to pretend so. When I built my little haunted mantel scene I gave my cardboard witch house a tiny painted-on back door just because it made the story better for my kid.
So no, there is no rule that a spooky house needs a secret exit, but if you are making a printable witch house or a 3D cut scene, add one. It is the kind of small weird detail that makes people lean in and look closer.
Before You Print
Every year I tell myself I will start smaller and every year the porch and the kitchen and both doors end up covered in witches anyway. Most of it came off a printer that complains or a borrowed laser and a roll of tape, and the few wooden cut pieces will come back out next September because they earned their box.
If you only grab one thing, make it the door sign or the 3D witch, since those are the ones people actually stop and touch. Print a spare of the kid clipart while you are at it. Trust me on the broom handles.